The fall season is one of my favorite times of the year, but it is very short-lived. Soon the long winter will set in and all the pretty colors of the landscape will be whitewashed with snow. Snow is pretty in its own right, but the frigid low temps make it harder to appreciate. Although, there is nothing better than the first snow. I grew up in Michigan and now live in Indiana, so I’m pretty used to snow, but even so, the first snow still ignites my childlike wonder.
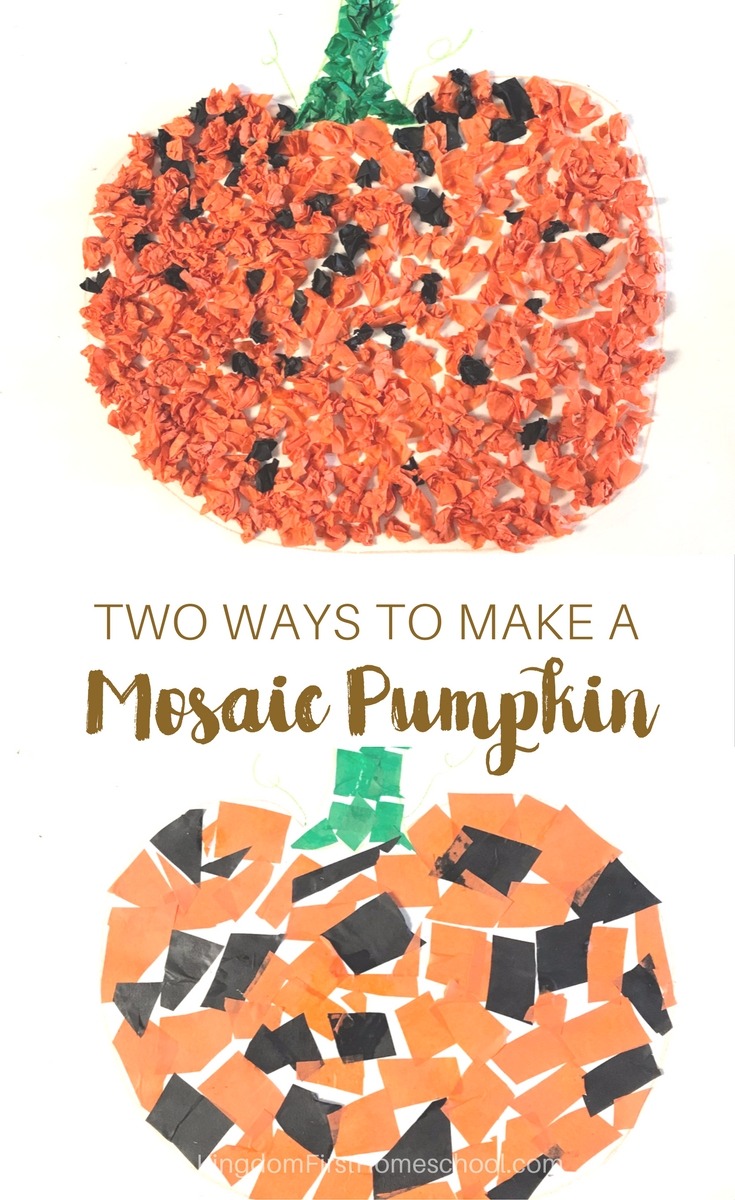

With the fall season speeding by I have a couple more fall projects to complete with my girls and our next project is a mosaic tissue paper pumpkin craft, not one but two fun ways to make this project. They are very similar, but with one extra step for the second method.
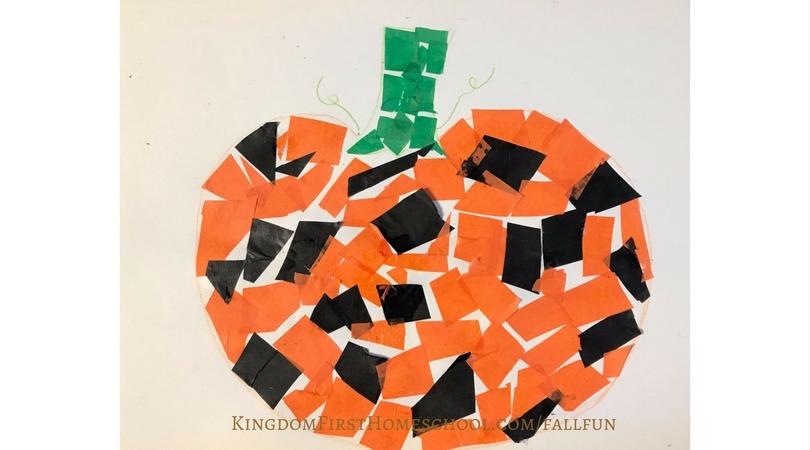
Mosaic Tissue Paper Pumpkin Craft Method #1 (Classic)
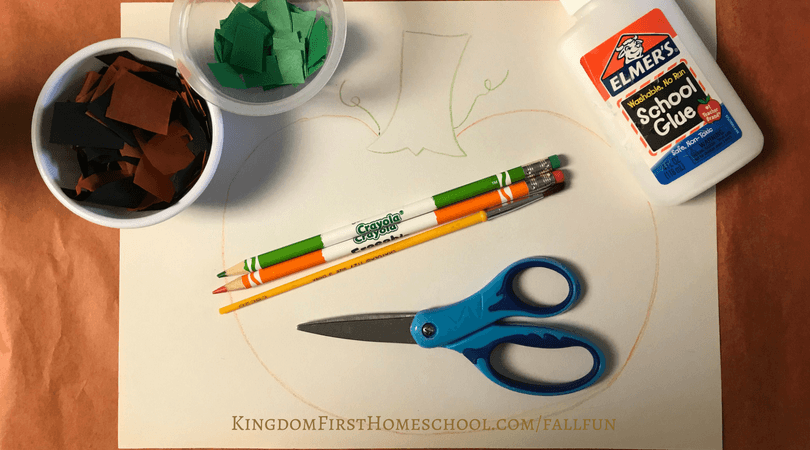
SUPPLIES
- White Construction Paper
- Orange, Black & Green Tissue Paper
- Scissors
- Small Bowl
- Glue
- Paint Brush
Process
Step #1 – Hand draw a Pumpkin. I used colored pencils. If you aren’t comfortable with drawing you can google free printable pumpkin templates.
Step #2 – Cut tissue paper in small pieces. They don’t have to be perfect. Different shapes and sizes makes it look more interesting I think. This is a good way to get some fine motor skills in and cutting practice too. I like to cut a few strips of tissue paper and stack them, then cut, this speeds the process up. Also the little strips make it easier for little hands.
Step #3 – Put a good amount of glue in a small bowl add a few drops of water and stir. This creates a thinner glue. The tissue paper is so thin, you don’t want to use full big globs of glue.

Step #4 – Paint a small area with the glue substance and start to press on your tissue paper pieces until complete.
Mosaic Tissue Paper Pumpkin Craft Method #2 (Scrunch)
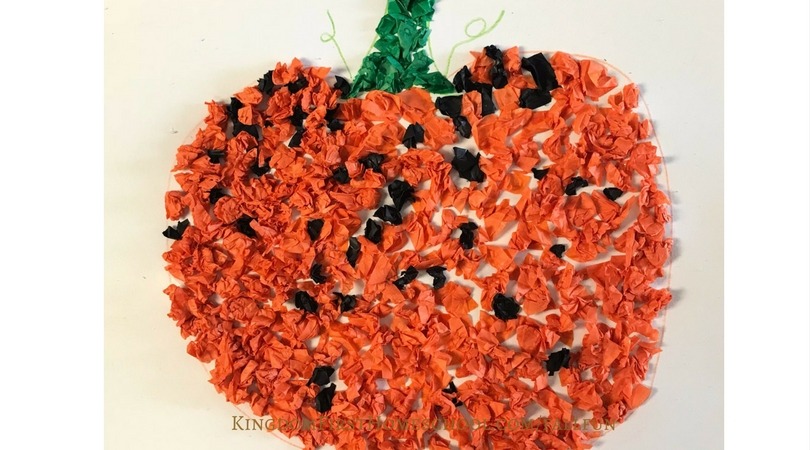

In method two the only difference is one extra step. Scrunch the tissue paper and then glue. This adds an extra layer of fine motor skills and gives it a whole new look. You may need to use full strength glue to make sure the little crumpled pieces of tissue paper stick and last.
Autumn is such a picturesque season for soaking up the beauty of falling leaves and creating a cozy family atmosphere at home. If your kids are crafty and love all things pumpkin and maple leaf, why not design some custom lapel pins with them? You can add elements that capture the essence of fall and the process is sure to be fun and exciting. These unique pins can add a touch of that “fall feeling” charm to clothes, backpacks, and hats, making them perfect accessories for the season. Head over to GS-JJ now to create your one-of-a-kind custom lapel pins!
What Fall projects are you working on to make your homeschool fun?
CHECK OUT THE REST OF THE PROJECTS IN OUR 31 DAYS OF FALL ARTS AND CRAFTS FOR KIDS SERIES.
For more homeschooling inspiration, tips and encouragement, make sure to follow KFH on Facebook, Pinterest, Instagram and Twitter, and subscribe to our Newsletter for some FREE GOODIES!
Forest Rose is a God Loving, Blessed Wife, & Mama to 3 girls. She’s passionate about lifting moms out of the trenches that are discouraged, overwhelmed, or feeling alone or isolated. Her hope is to point them to Christ and equip them to rise up with a newfound hope and joy within, that He alone can provide. Besides blogging, she also loves to create printables!
Leave a Reply