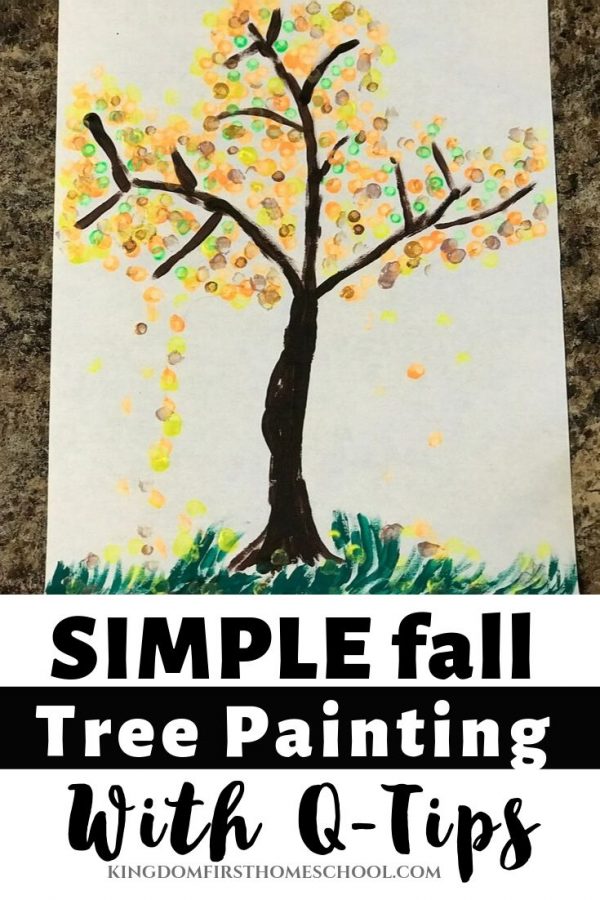
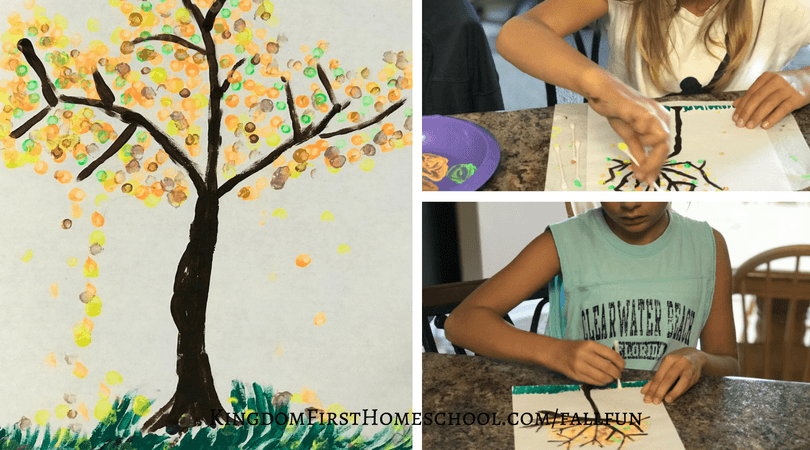
Hi Sweet friends! We are loving this new 31 days of Fun Fall Arts and Crafts for Kids Series. We had so much fun creating this simple fall tree painting today using Q-tips.
Did you create the Fall Tree Craft from yesterday? Well, if you did be sure to share it and use our hashtag #KFHFallFun! I would love to see it!

Yeah, I know we are doing another fall tree today, but there are seriously so many fun and creative ways to make a fall tree. Oh and by the way, I’m sure this won’t be the last. lol!
I could seriously make a different fall tree everyday and still not get tired of them! I have mad fall tree love! Anyone else?
Day #2 – Simple Fall Tree Painting with Q-Tips
Supplies
- White paper – Watercolor Paper, Construction Paper or even a Canvas.
- Q-Tips
- Acrylic Paints
Process
Step #1 – Paint the Fall tree trunk and then the grass using quick and easy strokes with the Q-tip or a paintbrush if you want.

Step #2 – Paint the leaves with a Q-tip using pretty fall colors. Dip the Q-tip in the paint color of choice, I recommend starting with the lighter colors first. We used metallic acrylic paints for the leaves only. So pretty! Just dab the Q-tip don’t brush it on. Add some leaves blowing in the wind and on the ground if so desired.

Awesome! I hope you’ve enjoyed making this with your kids as much as I have! Here’s day 1 of the 31 Days of Fun Fall Crafts for Kids series if you missed it and here is the rest of the series!
For more homeschooling inspiration, tips and encouragement, make sure to follow KFH on Facebook, Pinterest, Instagram and Twitter, and subscribe to our Newsletter for some FREE GOODIES!
Forest Rose is a God Loving, Blessed Wife, & Mama to 3 girls. She’s passionate about lifting moms out of the trenches that are discouraged, overwhelmed, or feeling alone or isolated. Her hope is to point them to Christ and equip them to rise up with a newfound hope and joy within, that He alone can provide. Besides blogging, she also loves to create printables!


Leave a Reply